007 - Zarbi
From The Web Planet (1965)
Version 4 - Updated 07/17/2024
Finished: https://drive.google.com/open?id=164oULmDXMvymtMtAYuZ8kmOhGn6noNXX

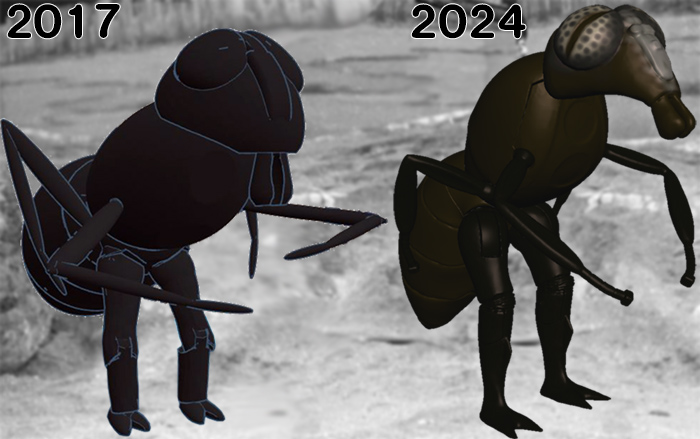
This was one of the first figures I created in TinkerCAD back in 2017 before I really knew what I was doing.
I have subseqiently rebuilt the figure from the ground up to be significantly more screen-accurate and fully articulated with 11 points of artuculation.

This figure is primarily intended for resin printing, though the files are the same, regardless of whether you are printing out of PLA (filament) or SLA (Resin). The figure is symetrical, so if your slicer has a mirror option, you can add supports for the Left Foot, Left Front Leg, Left Hip Joint, Left Middle Leg, and Left Thigh and then just flip those parts on the X-axis to create the right-sided versions.
Because the front and middle arms are quite thin and fragile, it is recommended that you print these pieces out of at least a 50% mixture of flexible resin like 3DMaterials SuperFlex (preferred, if you can get it) or SirayaTech Tenacious. This will allow them to bend without breaking during play. Note that when printing out of flexible resin you may need to increase the thickness and crossbeam percentage of your support structures to prevent them from bending during the print process.
If printing out of PLA, I highly recommend printing the arms out of black PLA+ or TPU filament so that they will be semi-flexible and less likely to snap when moved.

This figure requires at least one 1.5mm wide brass rod to be trimmed to length for the neck, hip and knee joints.These craft rods can be found online or in most DIY craft stores that have a model airplane section. Alternatively you can use a thin wire coat hanger or even a toothpick, but you may need to widen some of the holes prior to final curing with a small hand drill.

Before painting, it is recommended that you fit all parts loosely together without glue to make sure that they fit together properly. You may need to sand down some parts or drill out some holes if they are too tight or don't rotate smoothly.
If you want to weight down the back end of the figure so that it is isn't quite as front-heavy, you can fill the hollow part of the abdomen with liquid epoxy resin or modeling clay... just make sure you don't fill it more than about 2/3 full, since you still need room for the hip joints to slot in place and rotate. If you do use resin, make sure it is fully cured before assmbly. Also be aware that resin often generates heat as it cures, which can melt PLA prints.

This is an pretty simple figure to paint since it's mostly just black. However, if you want to be really accurate, color photos of the original costume reveal that the Zarbi were actually a deep glossy chocolate brown, though the circular mesh areas on the center of the chests are matt black.
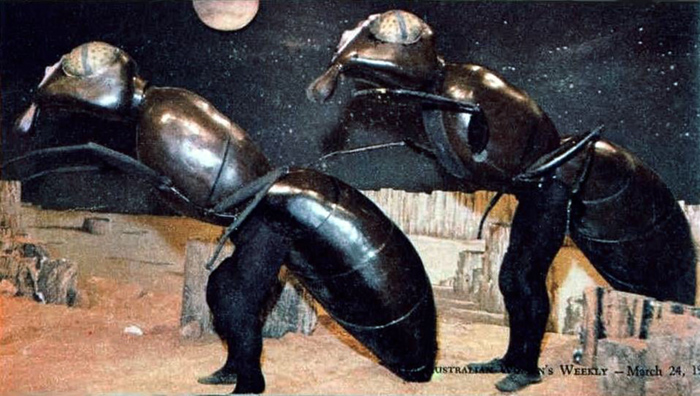
Note that in the Women's Weekly photocall above, the Zarbi are wearing plain black leotards and dance slippers in place of the spiked pleather boots seen in the transmitted TV episode and in the parade float photos below.
You'll note that the eyes of the Zarbi costume seen most prominently on the Shawcraft parade float seem to be a much darker rust color compared to the tan-eyed Zarbi costumes seen in the magazine photos.
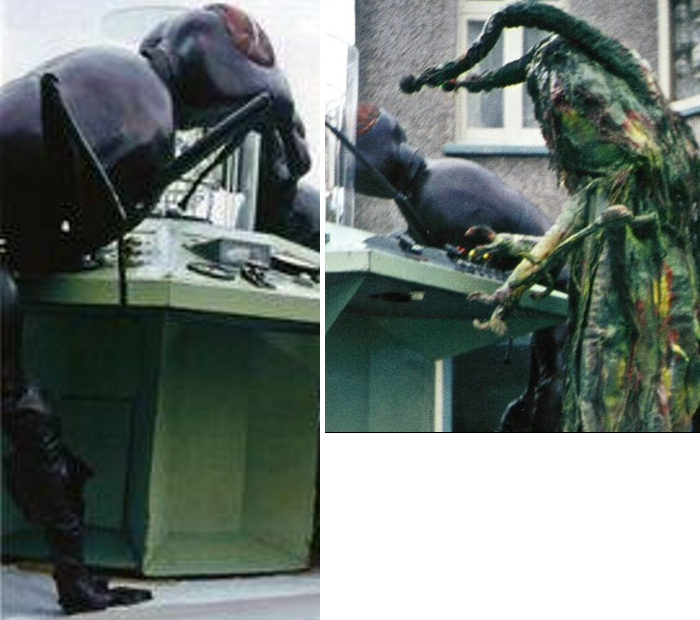
This confused me for the longest time until I stumbled across a lesser known photo from the same parade, which shows that there was a second Zarbi costume featured on the opposite side of the console which has the regular tan colored eyes. So apparently, half the costumes had tan eyes and half had rust eyes, for reasons unknown.

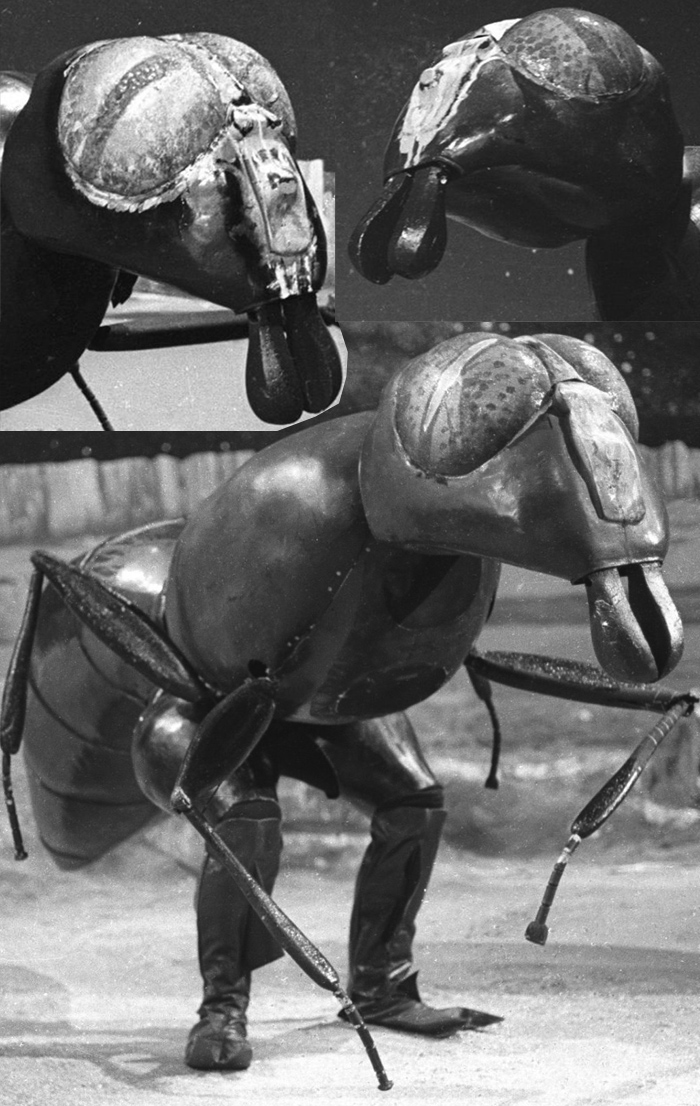
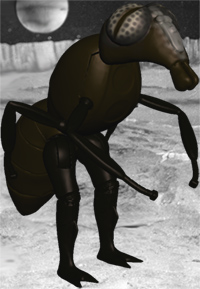
The paint job on the eyes and nose varies from Zarbi to Zarbi, though it appears that in general,
the white (or possibly rust or tan colored) paint on the nose continues up between the eyes and onto the top of the head, slightly encircling the outer edges of the eyes.
The eyes themselves usually have a
uniform width black or brown vertically striped "pupil" down the center, surrounded by a light tan area peppered with dark spots which are more concentrated around the outer edges.
Hhowever, as previously mentioned, the "hero" Zarbi has a different eye configuration and its pupil is either white or silver, surounded by a thin black iris outline, which tapers down to a sharp point at both ends. The paint job around its nose and eyes looks much cleaner and uniform compared to the other costumes.

To assemble the Zarbi, begin by attaching the neck pivot to the head by taking your 1.5mm wide brass rod and snipping it about 1-2mm shorter than the depth of the hole. You can then seal the open end of the hole with UV craft resin, glue, or sculpter's putty to seal the snipped rod in place. Then repeat the same process with the left and right hip joints, thighs, and feet.
Next, insert the head, and four front and middle legs into the clamshell top and bottom thorax, and glue the two halves together, making sure that all articulated parts rotate freely and do not get glued in place.
Then, insert the T-plugs of the left and right legs into the abdomen and then glue the crotch part down to clamshell them in place, also making sure that they rotate freely. Note that due to lack of space inside the crotch area the hip joints will only rotate very slightly... about a quarter of a turn at most. Do not try to force them to rotate further than this or you may damage the figure.
Once the glue on the front and back halves of the figure is completely dry, insert the fully assembled abdomen into the thorax and glue in place.


V1.0 (photos of 2024 redesign coming soon.)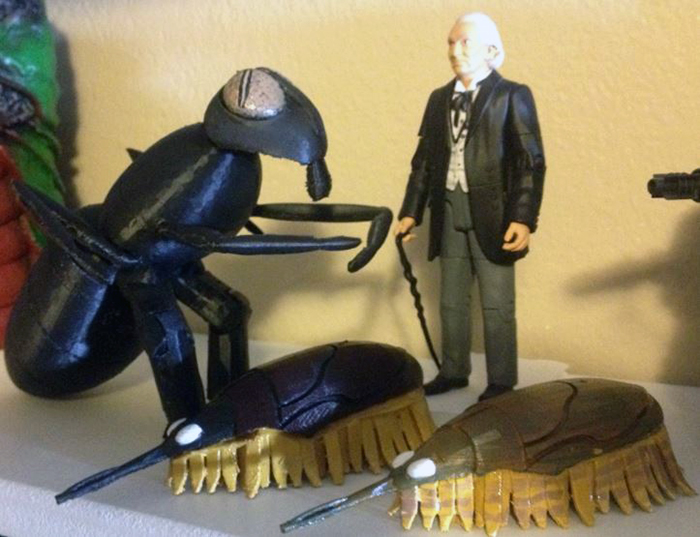
|
 |