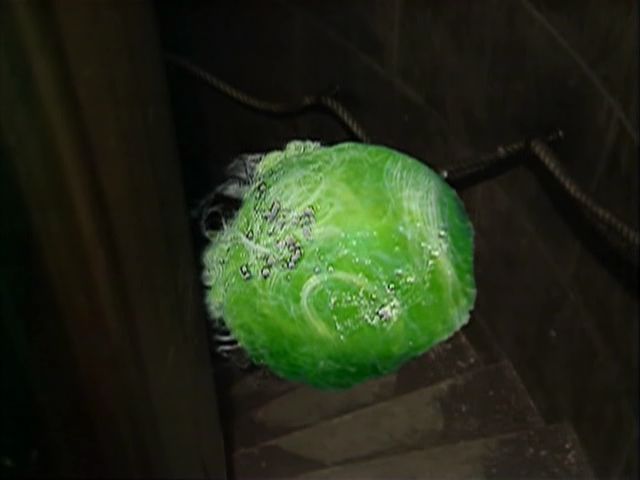
014 - Rutan Scout
from Horror of Fang Rock (1977)
Version 3 - Updated 7/29/2019
Finished: https://drive.google.com/open?id=12zjdd6nUuZ5KozEDD1LXSRMLzlNiWdwY

This figure has been designed for resin printing, though you can still print out of green PLA+ or PETG, though the tentacles may come out as an indistinct blobby mess.
Ideally, the figure should be printed on a standard sized resin printer using a roughly 50/50% mix of transparent green resin and a flexible resin like Siraya Tech's Tenacious.
There is a Rutan Body for SLA Resin with supports file in the zip file which is already correctly oriented and has supports for the tentacles already added. The only supports you should need to add are the platform ones for the head.
There are two different sizes of button in the Rutan LED Brick Buttons (multiple sizes) file, and two copies of each. This is because there are slight variations in depth depending on what brand of LED brick you use. Also, you may want spares if one of them breaks or gets lost, since it's a very small part. I recommend starting with the longer button first, and if it's too long, then pull it out with a pair of tweezers, and try the slightly shorter one.

This figure is designed to be fitted with a green 2x3 LED Light-Up Brick, but can still be printed without it, though this will leave it with a 2x3 Lego-sized hole in the base and a hole in the front where the button goes.


The Rutan shouldn't require much painting if you get the initial green color right, however, you may want to add a small "dry brush" bit of white to the surface to emulate the internal white stringy bits, and then cover with a thin light green wash. Painting with a high gloss lacquer once you are done will give it a shiny slimy look.


|