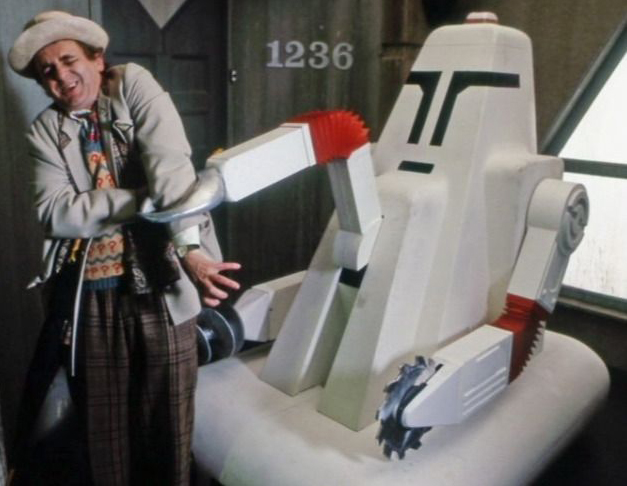
027 - Mk. VII Robotic Cleaner
From Paradise Towers (1987)
Version 1 - Updated 11/30/2019
Finished: https://drive.google.com/open?id=1kIM-_Q3Ssa1kmbgrG1s27Vy8esjtn0op

If you attempt to print in PLA you should be able to print the body and base at about 40% fill and it'll be fine. All limbs should be printed at 100% fill for maximum strength.
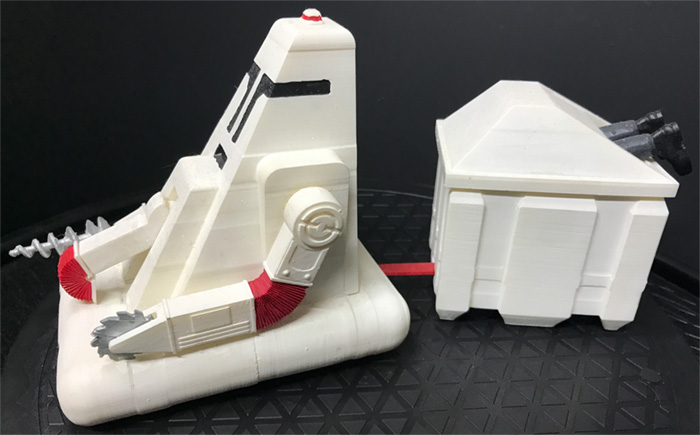
For SLA: There is a separate folder containing the optional wheeled bin, a set of legs to stick out the back, and a set of Kroagnon eyes, if you don't want to print the full figure.
There are also two versions of the saw blade. A tapered version that might come out sharp enough to cut you, and a flatter version that should be a bit safer.
This particular figure is very close to the maximum FEP Tank width on
a standard sized Anycubic Photon or Elegoo Mars printer. There It needs to be flexible enought that it can easily be pushed back into the chest cavity, but rigid enough that it will "hover" in midair when pulled out.
And as previously mentioned, if you're not printing the legs and antenna out of flexible resin, you might want to subsitute some lightweight 1.5mm thick aluminum tubing if you can't get those bits to print. is only 1mm to spare on the upper body, but I ended up printing mine without a raft, and it turned out fine. You may need to tweak your raft settings if youire running into issues. Also, you will likely need to top up on resin at least once during your build.
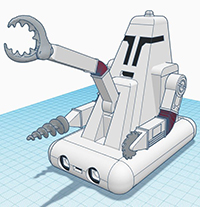
This figure makes use of 1.5mm wide brass rods for the central arm and claw pivots (though you can substitute a bit of nail, wire coathanger, or even a toothpick if you're desperate.) Stick the rod in through the side hole (you may need to carefully widen it with a drill bit if it's collapsed), mark it, then snip the rod just a mm or two shorter than the mark, so the edge doesn't stick out past the opening. After painting, attach the two pieces together with the snipped brass rod, then seal the end of the hole with some UV craft resin, glue, milliput, or something similar and paint over again once dry.

Both PLA and SLA versions require 1.5mm wide brass rods or something similar (technically, you can use toothpicks in a pinch) and two white 2x3 LED Light-Up Bricks if you want to give it functional headlights.

Before painting, it is recommended that you fit all parts loosely together without glue to make sure that they fit and move freely. You may need to sand down some parts or drill out some holes if they are too tight or don't fit together smoothly.


Painting your cleaner robot should be fairly simple. It's all a very bright white, except for the accordion joints in the middle of the arms, which are a bright red, and the drill/claw/saw attachments, which are metallic silver. The tiny light up at the top has a red band, but the actual flashing light inside is white.
The "face" is black, as are the round areas surrounding the headlights, and the small rectangular holes where the hitch attaches in the front and back. The hitch itself (only seen in a couple of frames) is red if anybody wonders.
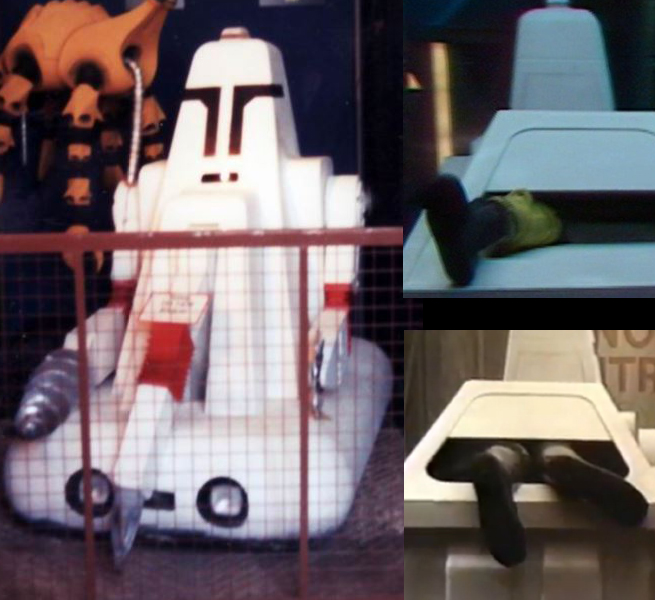
The bin accessory is white with black wheels.
I'd recommend painting the inside of the container black, especially if you're going to use the optional leg(s) and don't want people peeking too far inside. A yellow Kang leg has a black high-ankle boot, and yellow rag pants, while the Caretaker legs have a lower cut black sole, and military grey trousers.


Note there were some unwanted horizontal layer lines on this print (caused by suction force on the build plate) which is why you should always print your figures at an angle.
|
 |