REMIX005 - Tractator and Gravis
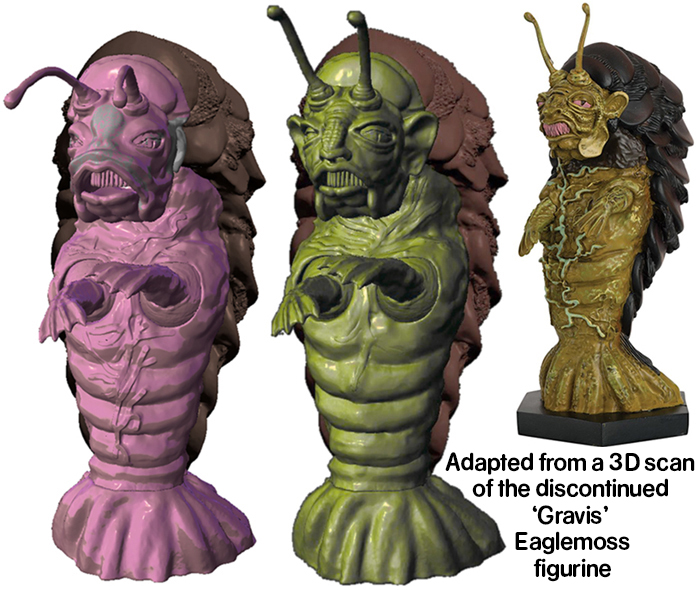
Adapted from a 3D scan of the Eaglemoss Gravis figurine (no longer available)
Original Gravis design by unknown
3D Scanned by John DiMaggio
Remixed by Troy Ryan Wood
Version 2 - Updated 1/15/2023
Final: https://drive.google.com/file/d/1HR33sLnapVWQ77PWzqyPNFSMsGoQWrA_/

This was our project's first successful attempt at using a 3D scanner to reproduce an existing Eaglemoss figurine in 5.5" scale. Special thanks to John DiMaggio for not only the use of his ultra fancy Revopoint Mini scanner, but also taking the extra effort to layer multiple scans together to provide the best possible starting model for this experiment.
And of course, extra special thanks to whichever 3D artist modeled the original Gravis sculpture my remix is based on. Unfortunately, the magazine that came with the Eaglemoss figurine did not provide any sort of artist's credit, but I do want to be perfectly clear an upfront that this is a remix of another artist's work, and not a fully original creation. (And also absolutely not to be sold under any circumstances!)

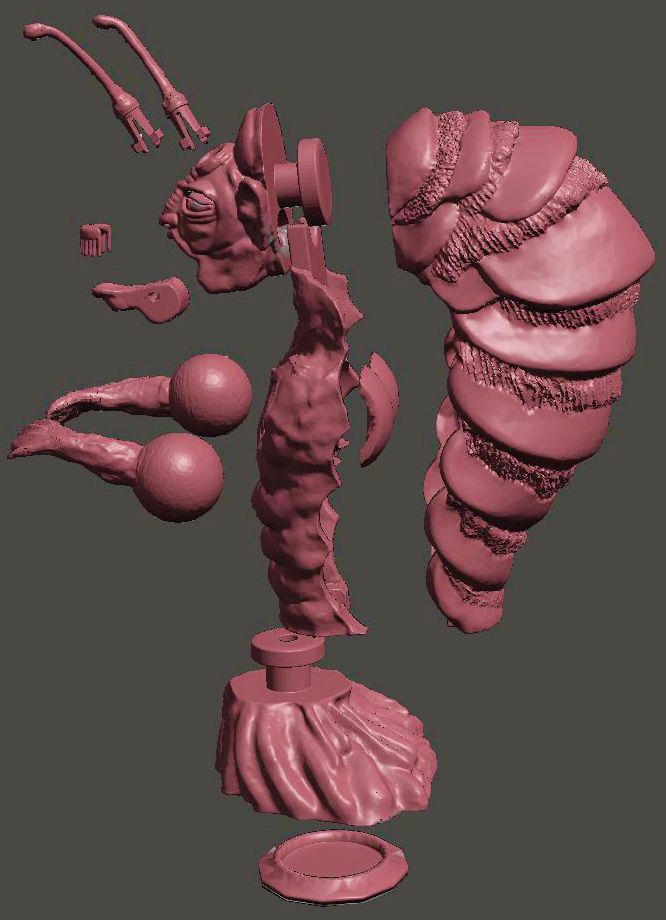
Each STL file is clearly labled for use for the Tractator, Gravis, or Tractator and Gravis. Both figures use the same Back, Foot, Bottom Foot Plug, Internal Arm Socket Cover, Hands, and Mouth Insert, so if you want to print both, you'll need to print each of those parts twice.
You can also combine the Tractator ONLY face and jaw with the Gravis ONLY chest and antenna to
create a 3rd Tractator variant for army building. (If you want to get fancy, you could also try mirroring the chest, back and foot)
Both figures are primarily designed for SLA (resin) printing, but should be printable out of PLA (filament). If you are going to print using filament, I recommend using PLA+/Flex PLA for improved surface detail and stability, and you might want to spring for a roll of TPU for the antenna if you want them to be properly flexible.
For SLA resin printing, the Antenna and Mouth Insert should be printed out of a minimum 50/50% mix of standard
ABS-like and a special flexible
resin like 3DMaterials SuperFlex or SirayaTech Tenacious. Without flexible resin as an additive, these parts may break off or not function at all.
The Mouth Insert is optional and somewhat tricky to print. If it doesn't print correctly or comes out too fragile, you can simply glue thread, dental floss, or anything else thin and stringy to the upper pallet of the head to create your own hanging mouth tendrils.
Likewise, the Bottom Foot Plug is purely cosmetic and only there to seal the bottom of the figure. It should stand up perfectly fine without it.

This figure requires at least one 1.5mm wide brass rod to be trimmed to length for the jaw pivot. These craft rods can be found online or in most craft stores that have a model airplane section. Alternatively you can use a thin wire coat hanger or even a toothpick, but you may need to widen some of the holes prior to final curing with a small hand drill.

Before you paint and assemble your figure(s) it is recommended that you fit all parts except the antenna together without glue to make sure all points of articulation slot into place and move correctly. You may need to sand down some parts or drill out holes if pieces do not move freely.
The antenna are designed to lock in place once you push them into the holes, so be aware that once you pop them in there, there's no getting them out again without breaking the figure.

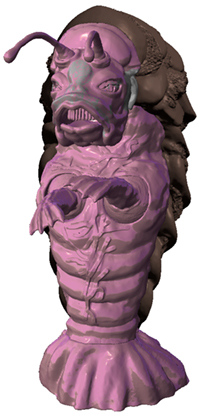
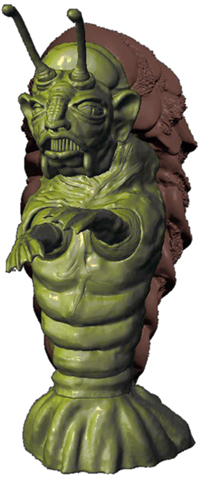
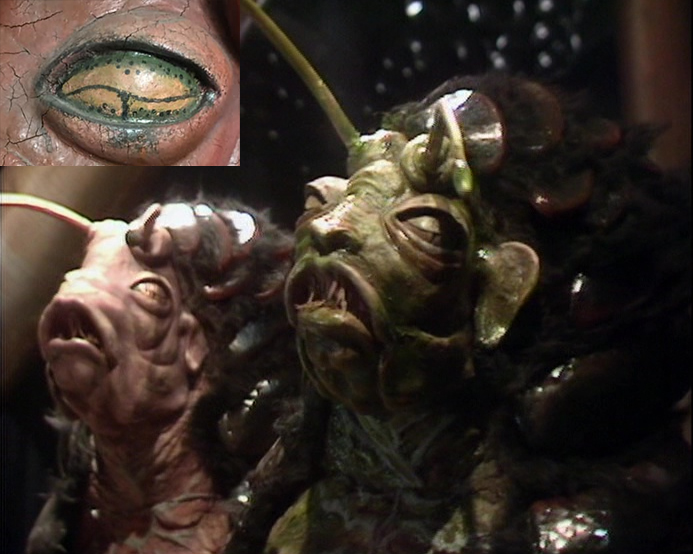
The Tractators are a greyish salmon pink with dark mahogany colored shells separated by black or extremely dark brown fur. The veins on their chest and hands were painted using photoluminous paint that was supposed to glow for the camera, but this effect only worked in a handful of scenes and mostly they came out looking concrete grey. The Gravis has a similar pink base coat, but has a sickly green top coat over the top of that.
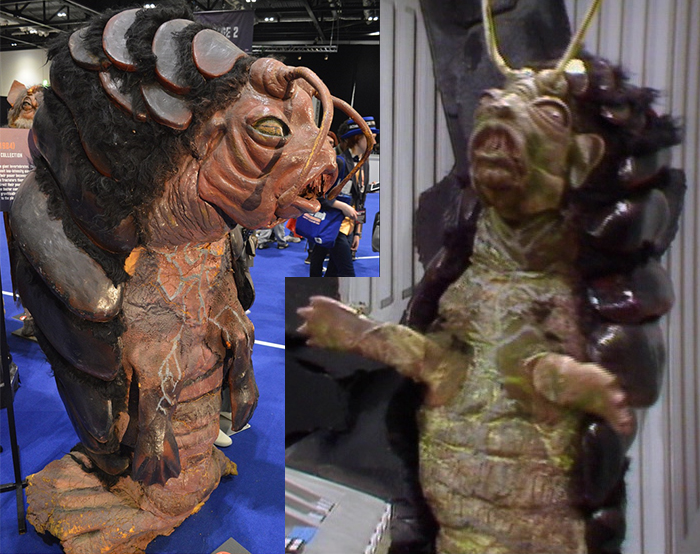
The eyes are golden yellow with a black T-shaped iris and black specklied outer edges.
The tips of the Gravis' antennas are a translucent yellow/green (possibly they were meant to light up?) whereas the regular Tractators were standard pink.

Assembly is the same for both the Gravis and Tractator models.
After painting, push the hands through the holes in the back the chest and glue the Internal Arm Socket Cover in place to lock them into their ball sockets. Make sure this part is dried completely before your attempt to seal the rest of the torso.
You can also glue the Bottom Foot Plug to the bottom of the Foot.
Attatch the Mouth Insert (or glue in whatever thread you're using as a substitute) to the upper pallet of the head. Then attach the Jaw using a 1.5mm wide brass rod trimmed to just a couple of mm shorter than the depth of the hole. I prefer the brass rods because they're incredibly sturdy, but you can always use a toothpick or bit of coat hanger in a pinch.
Rest the T pivot of the Face on the top indentation of the Chest and then hook the Back over the top of the T pivot. There should be enough wiggle room before you permanently glue it that you can insert the T-pivot of the Foot in from the bottom and then close the clamshell around it. If not, you may need to sand some parts down. With the pieces in place, glue the front and back of the body together, taking care to allow the head and foot to rotate freely.
The last step should be attaching the two Antenna, which are the most fragile part of the figure. If you printed these out of flexible resin, you should be able to carefully pinch the tips together and insert them into the holes (try not to twist them when doing this. If they simply won't fit, you may need to trim them down or carefully expand the holes.) Once in, wait a minute for them to expand back to their
original shape, and they should be locked into the sockets permamently.

Coming soon.
|